 Memmy
MemmyTUI User Guide
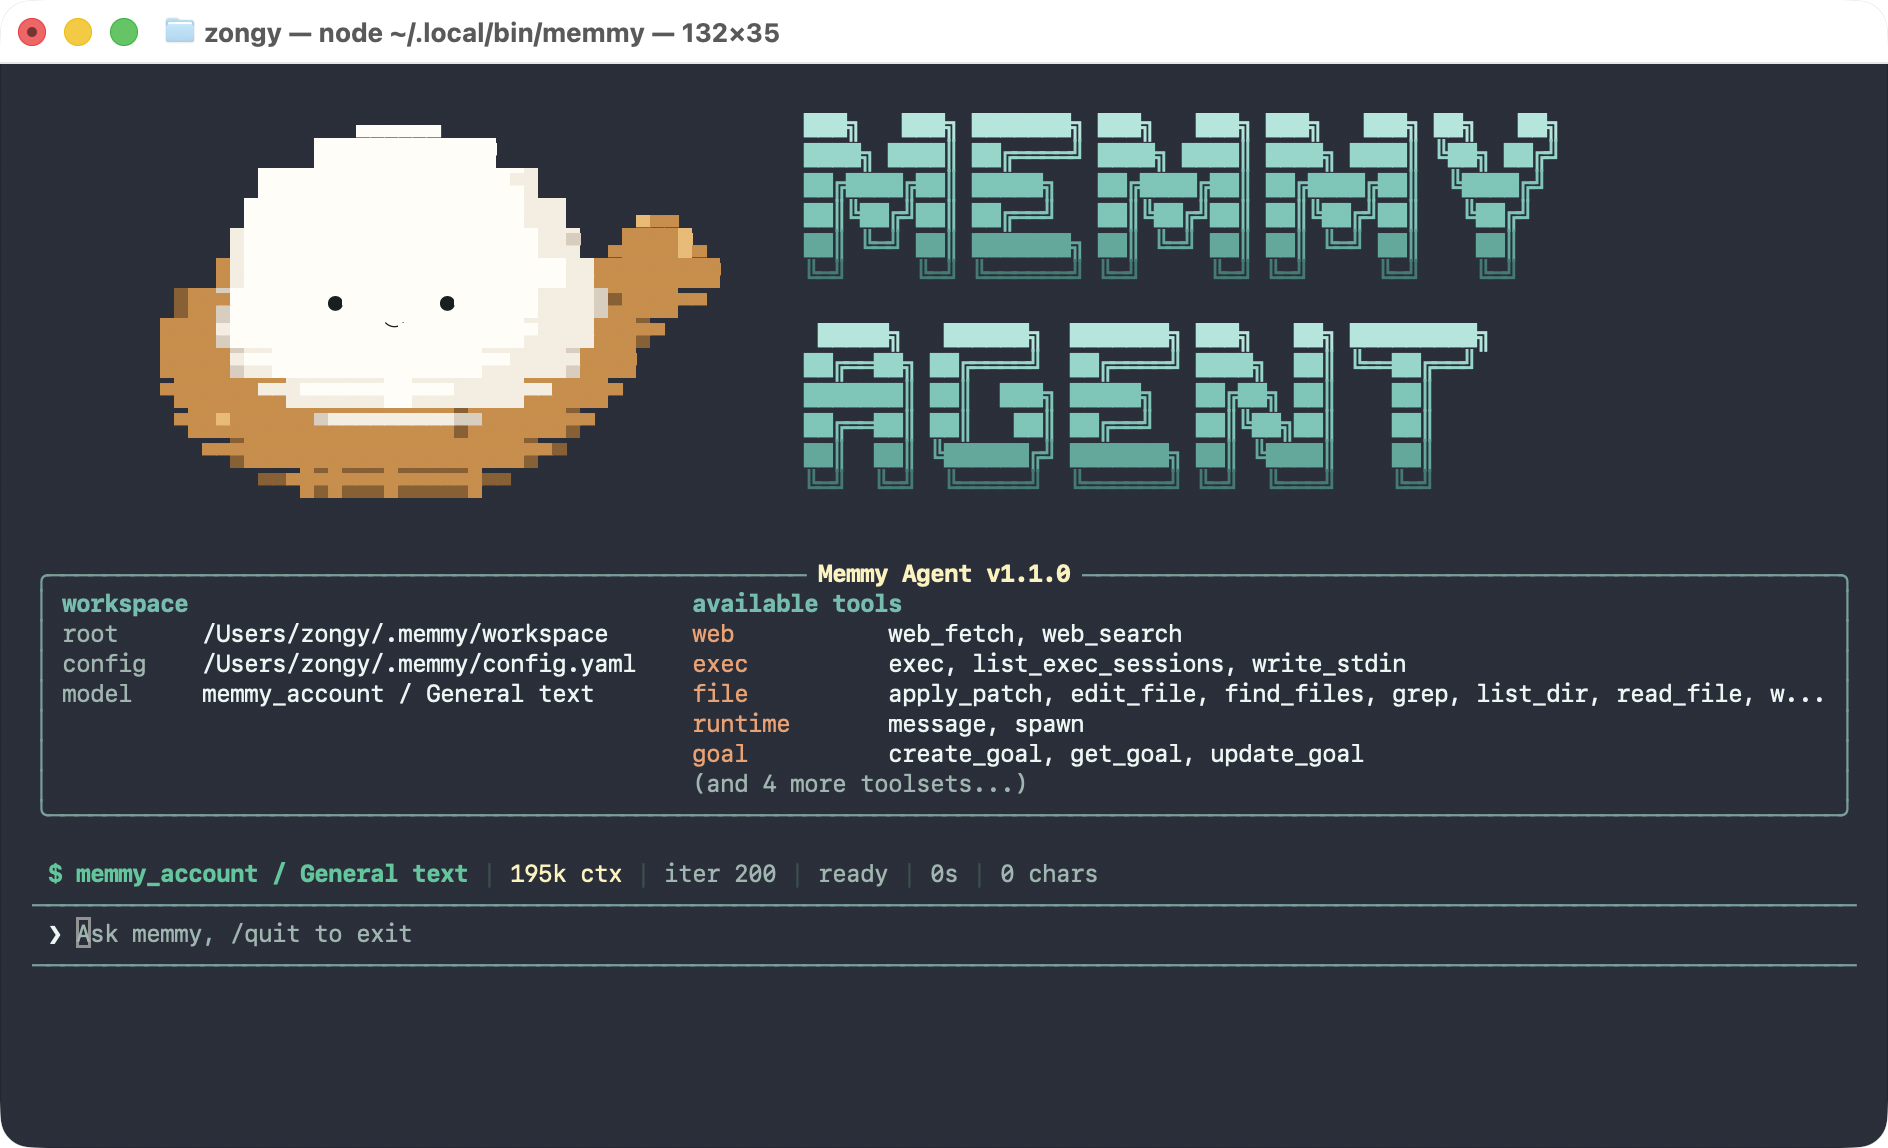
Memmy TUI is Memmy's full-screen terminal interface. Whether you install the desktop app or just the CLI, you can run memmy in your terminal to use it.
Installing Memmy TUI
Option 1: Install the Memmy desktop app
For macOS and Windows. The desktop app provides the memmy command and takes care of starting the local Memory and Agent Gateway services.
-
Download and install the desktop app from the Memmy official website or GitHub Releases.
-
Launch Memmy and complete setup in either account mode or API key mode.
-
Open a new terminal and check that the command is available:
memmy --help
memmy --version- macOS: drag the app into
/Applicationsand launch it at least once. If your terminal reports thatmemmycannot be found, open a new terminal or run:
source ~/.zshrc- Windows: after installation, open a new PowerShell or Windows Terminal window.
When using the TUI provided by the desktop app, keep the Memmy desktop app running. Closing it also stops the Gateway it manages.
Option 2: Install only the Memmy CLI
For Linux x64 or arm64 environments that don't need the desktop app. Requires Node.js 22 or later and a system with systemd --user support.
curl -fsSL https://raw.githubusercontent.com/MemTensor/memmy-agent/main/scripts/install.sh | bashOnce installation finishes, run:
memmyOn first run, if no model is available yet, Memmy opens the setup wizard. The CLI installer manages the Memory and Gateway services; they keep running after you exit the TUI or close the terminal.
Check service status:
systemctl --user status memmy-memory.service
systemctl --user status memmy-gateway.service
First Time Setup
If you already completed onboarding in the desktop app, you can skip this section. CLI users should run:
memmy onboard --defaults
memmy onboard
memmy status-
memmy onboard --defaults— creates or refreshes the config file and workspace, non-interactively. -
memmy onboard— configures models, providers, Gateway, Memory, and tools interactively. -
memmy status— checks the current configuration, workspace, model, and provider.
Default locations:
-
Config file:
~/.memmy/config.yaml -
Workspace:
~/.memmy/workspace
Opening the TUI
Run:
memmyThis opens the default cli:direct session. Type a message and press Enter to send it.
Resuming or creating sessions:
# Resume an existing session
memmy --session cli:work

# Create a new standalone session
memmy --standalone

# Create a session bound to a project directory
memmy --project /path/to/project--session, --standalone, and --project are mutually exclusive — pick one.
List existing sessions:
memmy sessions listmemmy vs. memmy agent
To open the full-screen TUI covered in this guide, use bare memmy.
memmy agent is for single-turn tasks or conventional terminal interaction:
# Single-turn task
memmy agent --message "Give me an overview of the current workspace"

# Send a single turn from stdin
echo "Summarize this project" | memmy agent
Sending Tasks
Type after the ❯ prompt and press Enter to send. The TUI does not currently support the desktop workbench's Shift + Enter newline; Enter always submits.
Long text wraps visually in the terminal, but you cannot insert multiple lines. To send multi-line text, use:
memmy agent --message $'first line\nsecond line'or:
printf 'first line\nsecond line\n' | memmy agentTyping while a task is running
-
Enter— queue the next turn. -
Tab— append your input to the current turn, when that turn is being executed by this TUI.
If the current turn came from the desktop app or another IM channel, the TUI will not take it over; use Enter to queue instead.
When there are queued tasks, the interface shows the queue count, a message preview, and the message source.
Keyboard Controls
Basic controls are the same on macOS, Windows, and Linux; the primary modifier for line-editing combinations differs:
| Action | macOS | Windows | Linux |
|---|---|---|---|
| Send; queue next turn while running | Enter | Enter | Enter |
| Append to the current TUI executed turn | Tab | Tab | Tab |
| Move one character | ← / → | ← / → | ← / → |
| Move by word | ⌘ + ← / ⌘ + → | Ctrl + ← / Ctrl + → | Ctrl + ← / Ctrl + → |
| Move to start of input | Home / Ctrl + A | Home / Ctrl + A | Home / Ctrl + A |
| Move to end of input | End / Ctrl + E / ⌘ + E | End / Ctrl + E | End / Ctrl + E |
| Delete from cursor to start of line | Ctrl + U / ⌘ + U / ⌘ + Backspace / ⌘ + Delete | Ctrl + U | Ctrl + U |
| Delete from cursor to end of line | Ctrl + K / ⌘ + K | Ctrl + K | Ctrl + K |
| Delete previous word | Ctrl + W / ⌘ + W | Ctrl + W / Ctrl + Backspace | Ctrl + W / Ctrl + Backspace |
| Delete a character | Backspace / Delete | Backspace / Delete | Backspace / Delete |
| Stop your own running turn and exit | Ctrl + C | Ctrl + C | Ctrl + C |
On macOS, ⌘ is the Command key; Windows and Linux use Ctrl as the primary modifier. Shift + Enter never inserts a newline on any platform — it submits the current message.
You can also exit by typing any of the following:
exit
quit
/exit
/quit
:q
If the task is being executed by another channel, Ctrl + C only exits the current TUI; it does not stop the task on that channel.
Slash Commands
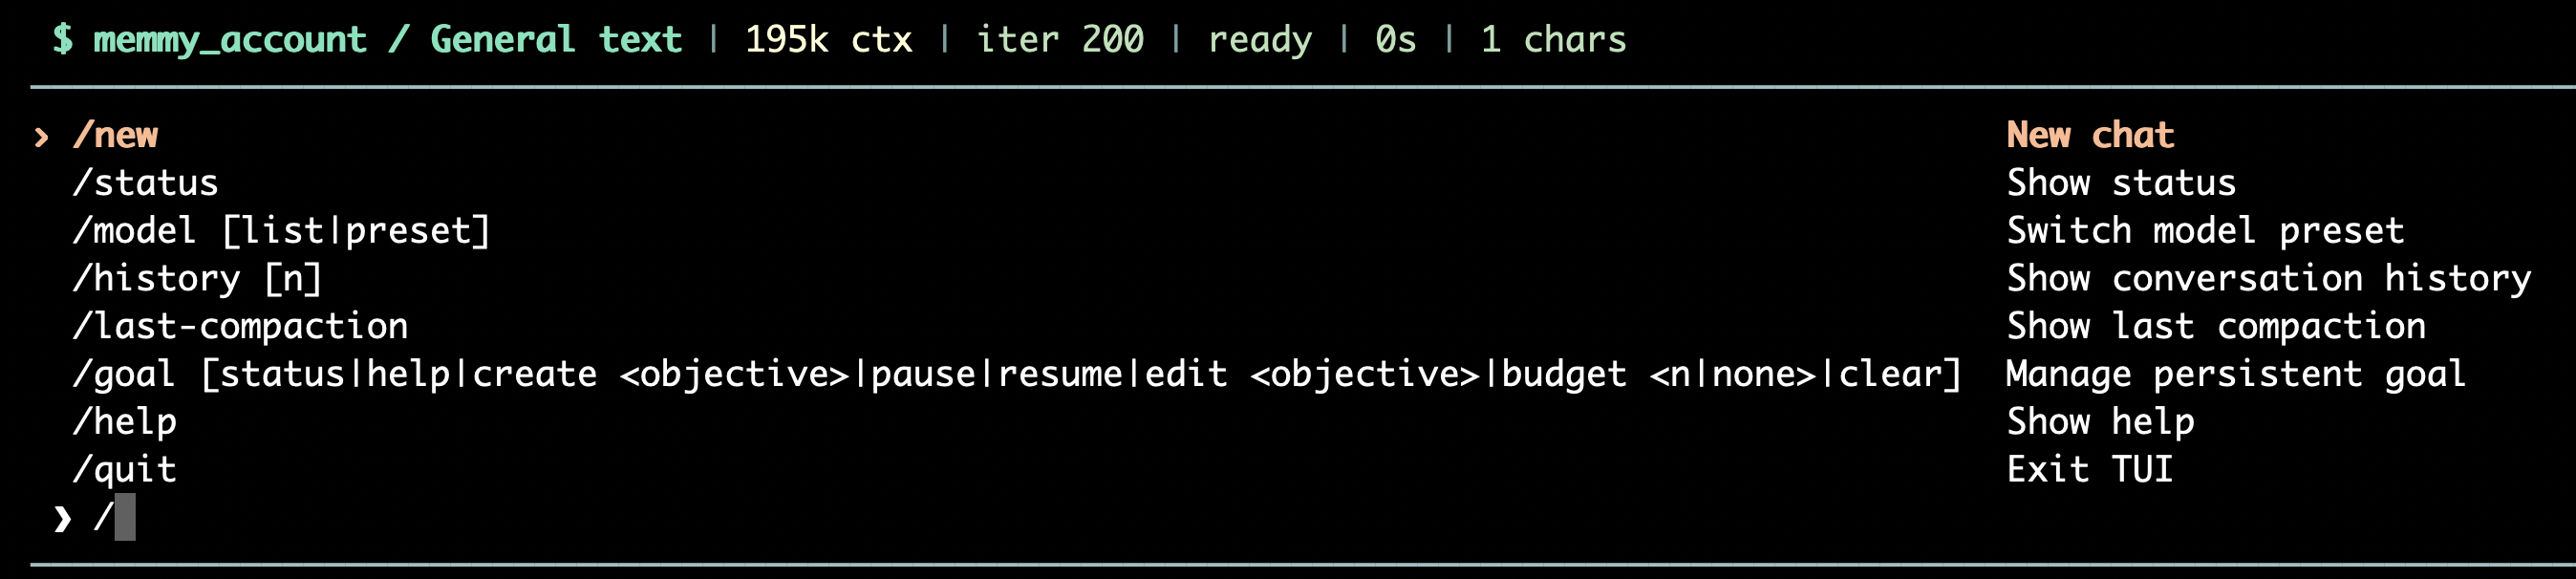
The TUI has a slash-command suggestion menu. Type / in the input area to open it, and keep typing a command name (for example /go) to filter the suggestions. The menu closes once you type a space to enter an argument or subcommand.
-
↑/↓— move between suggestions. -
Tab— complete the selected command entry; it does not complete subcommands or arguments. -
Enter— if the current input is a command prefix, completes it first; if the command entry is already complete, runs the command. -
Esc— close the suggestion menu.
If Enter only completed the command, press Enter again to run it.
-
The menu shows the commands currently available, along with hints for that command's arguments or subcommands.
-
Arguments and subcommands do not get their own suggestions — for example, with
/model listyou complete/modelfirst and then typelistmanually. -
/stopappears only when the current turn is being executed by this TUI. -
/restartis not shown and cannot be run from the TUI. -
exit,quit,/exit,/quit, and:qall exit, but only/quitappears in the menu. -
Whether
/history-dagappears depends on whether the corresponding feature is enabled. -
Up to 8 suggestions are shown initially; keep typing a command prefix to filter down to others.
| Command | Arguments | Purpose |
|---|---|---|
/help | none | Show help for the available commands |
/status | none | Show runtime status, provider, and channel status |
/model | none | Show the current model configuration |
/model list | none | List model presets |
/model <preset> | model preset name | Switch model preset, e.g. /model fast |
/history | none | Show session history |
/history <n> | number of messages | Show the last n history messages |
/history-dag | none | Show the session history DAG |
/new | none | Stop the current task and start a new conversation |
/stop | none | Stop the turn currently executed by this TUI; does not stop tasks on other channels |
/restart | none | Not accepted by the TUI; exit and restart the Gateway instead |
/last-compaction | none | Show the most recent context-compaction summary for this session |
/quit | none | Exit the TUI without stopping turns running on other channels |
/goal | none | Show the current persistent goal |
/goal status | none | Show persistent goal status |
/goal help | none | Show help for the goal subcommands |
/goal <objective> | goal text | Shorthand for creating a persistent goal |
/goal create <objective> | goal text | Create a persistent goal |
/goal pause | none | Pause the goal |
/goal resume | none | Resume the goal |
/goal edit <objective> | new goal text | Edit the goal |
/goal budget <n|none> | a number or none | Set or clear the goal budget |
/goal clear | none | Clear the goal |
/pairing | none | View or manage channel pairings |
/pairing list | none | List channel pairing requests |
/pairing approve <code> | pairing code | Approve a pairing request |
/pairing deny <code> | pairing code | Deny a pairing request |
/pairing revoke <user_id> | user ID | Revoke a user's pairing |
Whether /history-dag is available depends on whether the corresponding feature is enabled in your configuration.
FAQ
memmy: command not found
-
macOS: make sure Memmy has been moved into
/Applicationsand launched at least once, then open a new terminal or runsource ~/.zshrc. -
Windows: open a new PowerShell or Windows Terminal window.
-
Linux: confirm the installer completed successfully, and check that
~/.local/binis on yourPATH.
No model available
memmy onboard
memmy status
Confirm that the model, provider, and credentials have been saved, then run memmy.
Gateway unavailable
-
Desktop app: make sure the Memmy desktop app is running.
-
Linux CLI: check
memmy-gateway.service. -
Running the CLI from source or manually: run
memmy gatewayin another terminal.
The default Gateway WebSocket port is 18980. On Linux you can check the logs:
journalctl --user -u memmy-gateway.serviceWhy doesn't memmy agent open the full-screen interface?
That's expected. memmy agent is the single-turn / conventional terminal entry point. For the full-screen TUI, run:
memmy